
All Blog Posts
Explore the full archive of Blog posts published by AVL [...]

Explore the full archive of Blog posts published by AVL [...]
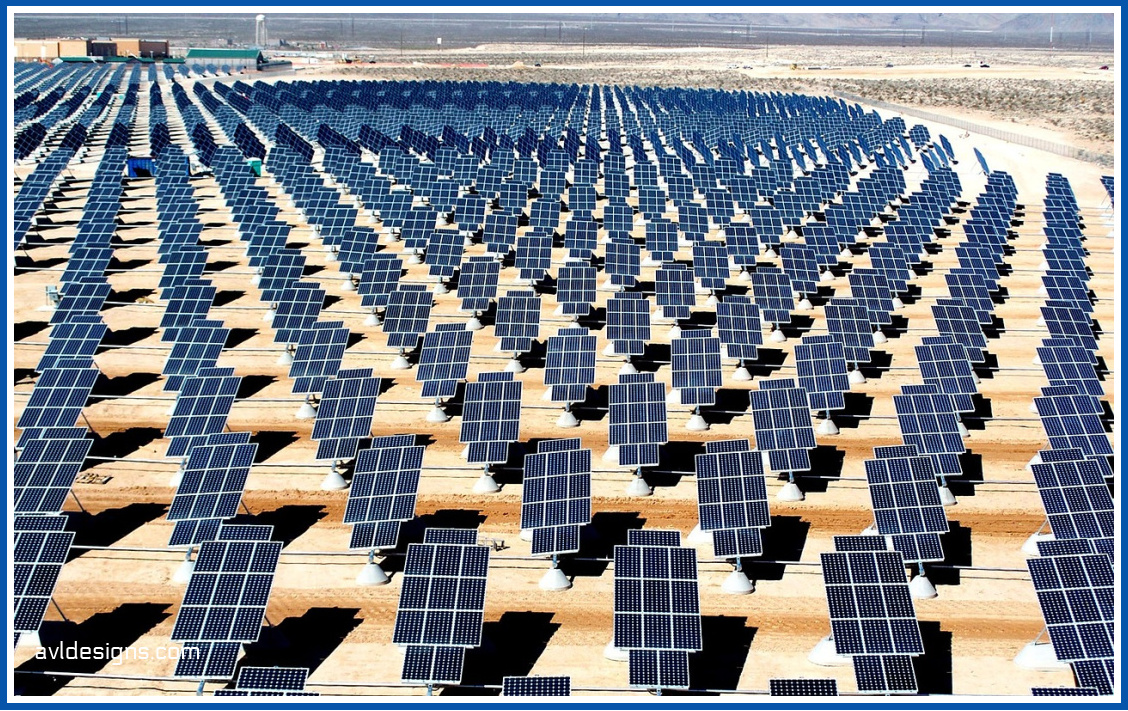
So, let’s talk about solar power. Does solar power make [...]
When it comes to acoustics, it’s quite common for us [...]
When I was creating this post and video, it was [...]
So today we’re going to talk about a subject that [...]
Let’s talk about microphone techniques. I work with a lot [...]
I wanted to do a video about the most difficult [...]
Those who follow us on YouTube have heard that we [...]
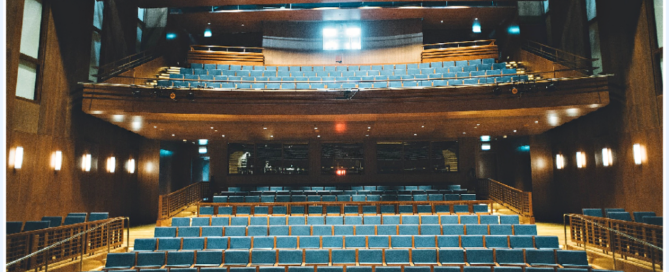
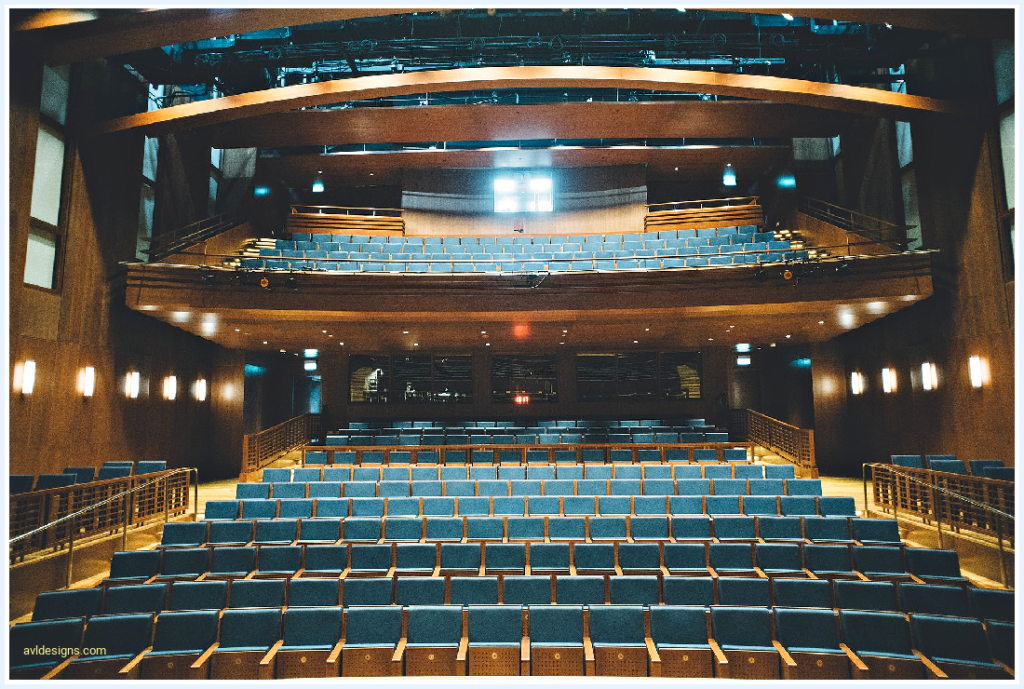
This advice is primarily for theater folks who work in [...]
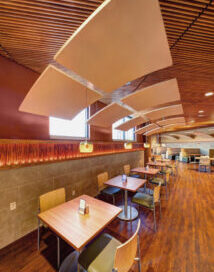
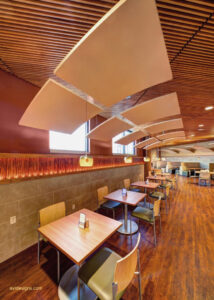
Sound in cafeterias can be harsh. A primary reason for [...]


