
We Told You So
When I was creating this post and video, it was [...]

When I was creating this post and video, it was [...]
WXXI TV reached out to AVL Designs Inc. to design [...]
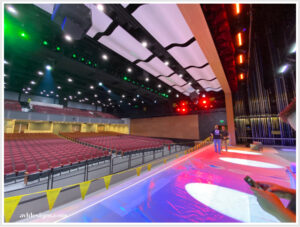
AVL Designs Inc. first became involved with the Liverpool Central [...]
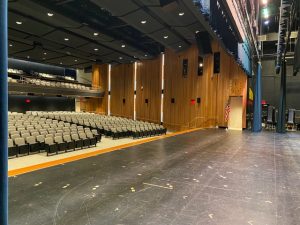
When the Burnt Hills Ballston Lake High School made the [...]
So today we’re going to talk about a subject that [...]
Attention architects, engineers and designers … this video is for [...]
Let’s talk about microphone techniques. I work with a lot [...]
I wanted to do a video about the most difficult [...]
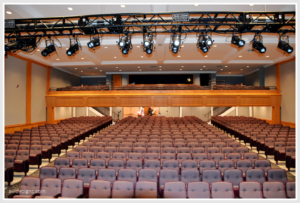
Portville Central School has a very active theater and music [...]
Those who follow us on YouTube have heard that we [...]


