Author: AVLAdmin

RDM – Remote Device Management

RDM – The LED Conundrum Part 2

Let’s talk a little bit about RDM. RDM (remote device management or remote duck management) is a way to remotely change settings on DMX/RDM lighting fixtures. 

In case you missed the first installment of this series : The LED Conundrum Part 1

What you are supposed to be able to do is to plug a lighting fixture into a DMX/RDM certified network and have the lighting console identify “Oh, that’s this kind of lighting fixture. It requires this many DMX channels and is currently addressed to this DMX starting address.”  You then would be able to remotely change that and other information. 

You are supposed to be able to remotely change the mode the fixture is running in, so if it was running in RGBW and you want it to be running in some other mode,  you should be able to remotely change that. You are supposed to be able to remotely change the DMX starting address. (Can you tell that this “supposed to” treatise is leading somewhere…..) 

Yes, you are supposed to be able to remotely change other factors, too, like special effects and things within the fixture. 

When you take a company that is, let’s say, probably the largest console manufacturer in the world in the lighting industry and their DMX implementation is reportedly compliant to the standard, and you hook the fixture up to the system,  it is supposed to respond with  “Hey, hi there fixture. What are you, what are your parameters? I want to change your starting address. Let me do that.”   

That superb console manufacturer is what we use as a standards reference.  We find that some manufacturers’ fixtures just don’t show up or if they do show up, they don’t show up with all the correct information or they show up with some of the information but don’t let you change it. 

So, here are just a couple of examples of what we ran into when we hooked up a fixture to one of these consoles. 

The fixtures shows up and it says to the console “Oh, that’s an LED fixture. It’s operating in 16 bit mode, starting on address 10 and it requires 17 channels, whatever it was.”  What kind of fixture? “Unknown.” It really didn’t work properly. 

So, I went into my console library and found the fixture since I actually knew what it was and the system wasn’t telling me. It said, “it is a fixture that does this stuff” and once I pulled down its profile, it worked fine. However, it would not allow me to change it. Can’t change start address, I can’t change it from 16 bit mode to 8 bit mode, et cetera. 

With other fixtures  that I’ve tried from various manufacturers, some of the data did not show up at all. Some of them show up with random issues when you try to RDM search or flash them on a network, all kinds of problems. (Let’s not even talk about house lighting manufacturers where you put everything on a network and nothing works. Talk about a disappointment.) 

So RDM is an interesting theory, if the devices out there were truly compliant.  So RDM obviously can send the data back and forth. The problem is that a lot of people are not fully implementing it and are not sure why. 

We don’t have access to every console on the market so there always is the possibility, since I’m not a real like digital protocol wizard, that some manufacturers have certain data packets that they have designed to only send to their own stuff.  If that were the case it would seem to be a very shortsighted way of doing things. 

If there is anybody out there who knows more about this, I’d be curious to hear your take on it. I have had many  talks with that really big lighting manufacturer to find out if they have any ideas, too. In the past when I have talked to them about it they’ve said, “Nope, we’re not trying to block out anybody else’s stuff. Their product just doesn’t work properly.” 

Bottomline, for someone who needs to use RDM, it can be a nightmare. Let me give you a picture of what you could run into. 

HOUSELIGHTS

Let’s just say you put up a new building and there are a hundred house lights and they are all DMX/RDM (supposedly). And the electrical contractor you hired didn’t check the firmware version, didn’t test the fixtures, didn’t do anything which he was required to do under the specifications before he put the fixtures in the ceiling. You come in and try to find the fixtures using RDM and you find that, let’s say 50% of them don’t respond. 

So the question becomes, are 50% of them defective or are they just not set up properly? Now you have to battle through that. Sometimes you have to crawl into the ceiling, which can be fun if the ceiling isn’t something you’re able to crawl into, and manually find a way to address these fixtures.   

This usually means taking them off the network and using a handheld controller, which often with a single fixture, when that controller is available from the manufacturer, will let you address their fixture. 

Sorry to say it but that is what you may have to do. Maybe their fixture isn’t even designed to work with the world of entertainment lighting and is only designed to work with their handheld plugin. Not such a good thing. Our recommendation for house lighting is to make everybody address every single fixture and test it before it ever goes into the ceiling. It is extra work for the electrical contractor, but you can see that the alternative can be a nightmare. Testing first is much less work than taking the ceiling apart later. 

THEATER FIXTURES 

Now, let’s just say, on that same system, you’ve got say a hundred theater lights form  three manufacturers and they’re all supposed to be RDM/DMX. Now, when you plug them all into your data network and you start looking for them, only some of them show up telling you what they are and how they’re addressed.  Hopefully, some of those you can actually remotely fix. Wonderful. But then you discover that a lot of the other ones, which are from different manufacturers, tell you nothing at all.   

Now you will have to manually address those, physically get to the fixture, get to the menu, set it up and address it. Then find a library profile for it to work. 

That gets you going but in  the future, if somebody wanted to remotely change the setup because of the way they want to run a show, it is not possible. You are stuck. 

One of the key things to know is that if someone’s going to end up with a system where they cannot remotely address certain fixtures, they must be made aware of that in advance. 

One thing we recommend highly, (even though in the professional world this would seem odd), is to physically mark the original DMX address and DMX universe on every single fixture. Labeling them will tell the user that, “Oh, this fixture was on universe one channel 250 when it was originally installed, which means if I just plugged it into universe 2 it is not going to work. 

If I plug it into universe 1 and I’m trying to call it up on channel 300,  that also is not going to work.” And they’re going to have to manually readdress that fixture. Also mark on the fixture “does not RDM” so they know to set it first before use. 

Sometimes you just have to mix products and, unfortunately, the end user is left dealing with the problem, but they need to be made aware. In the public bid market, there is often the “or equal” clause. 

So when a fixture says on paper that it is RDM, you are expected to believe that. Sadly, there are times that it turns out to be completely not true. At other times, it turns out to be partially true. Some of those problems are really hard to address because they are not consistent. 

My advice: buyer beware. Test before you buy. 

We do. 

/

Copyright AVLDesignsInc 2020

Read More
On stage screen at Newfield HS

Newfield High School

Newfield High School

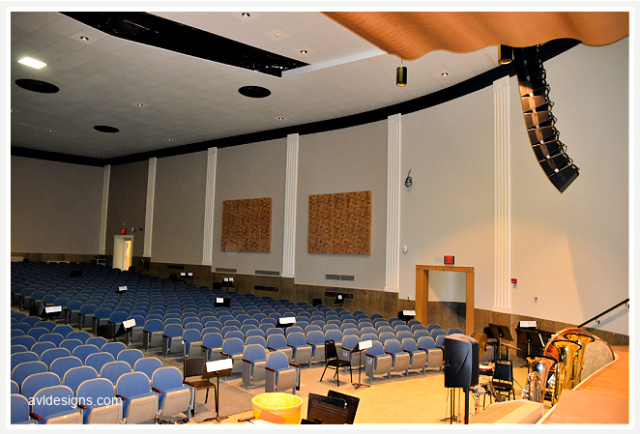
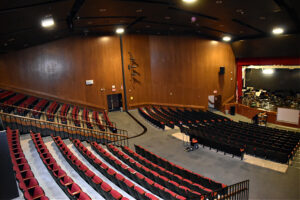
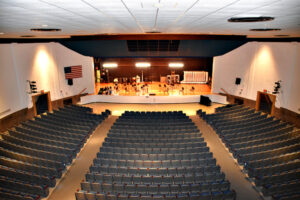
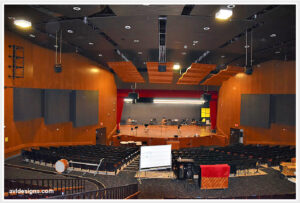
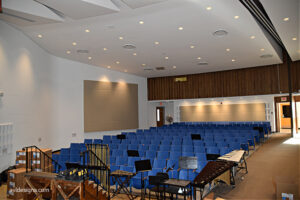
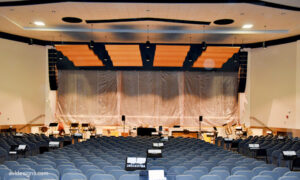
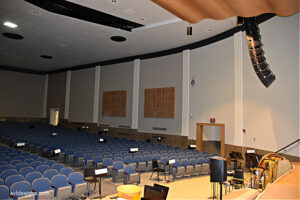
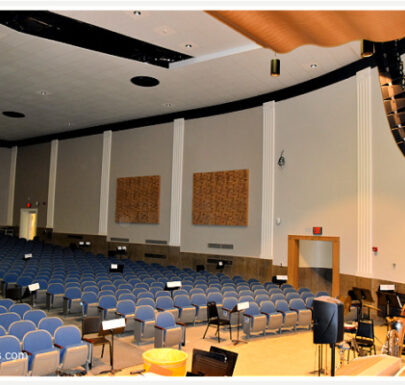
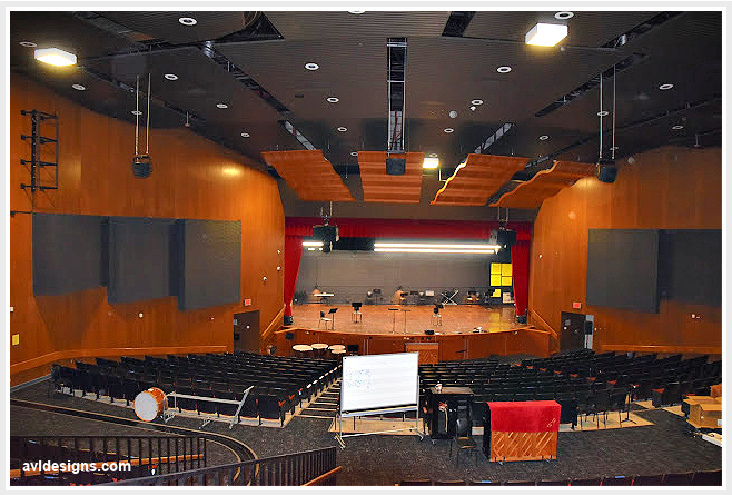
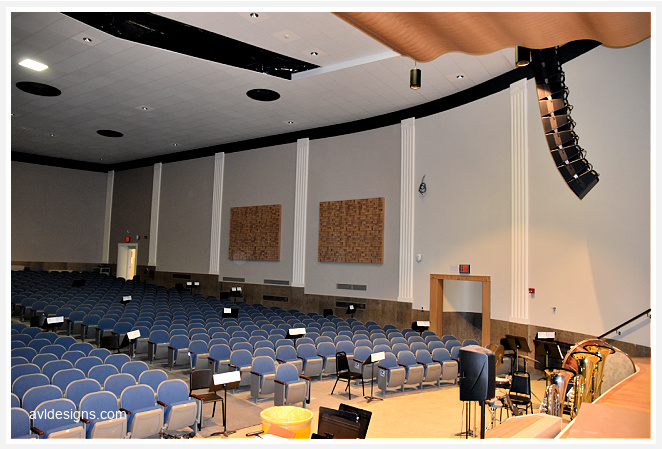
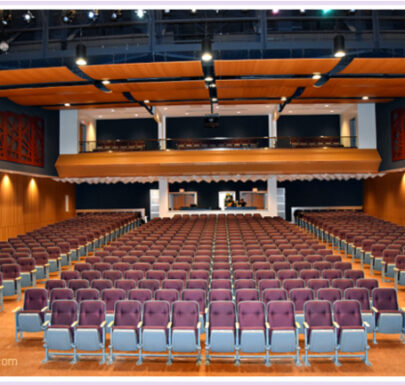
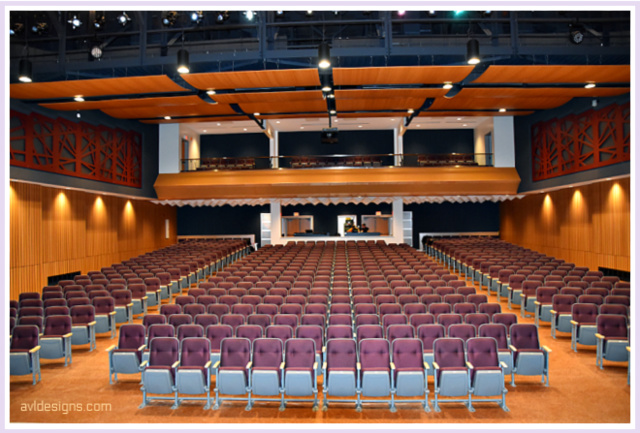
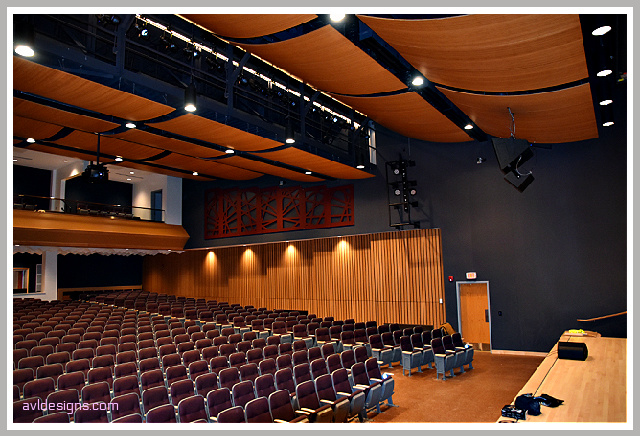
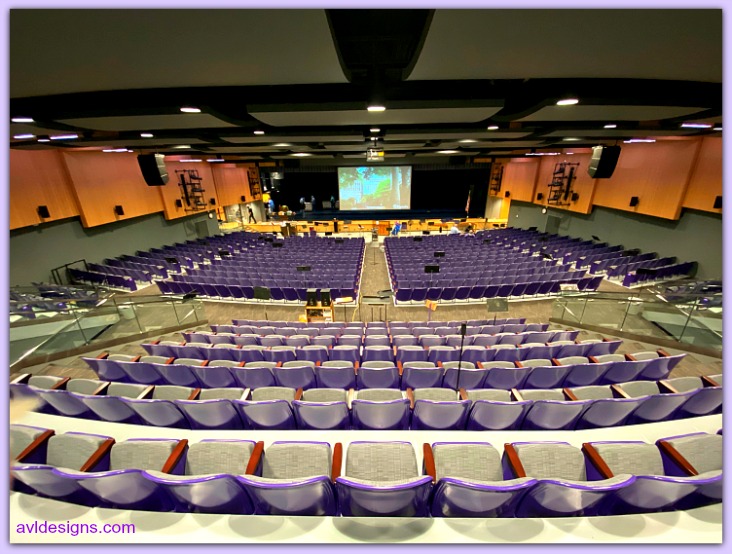
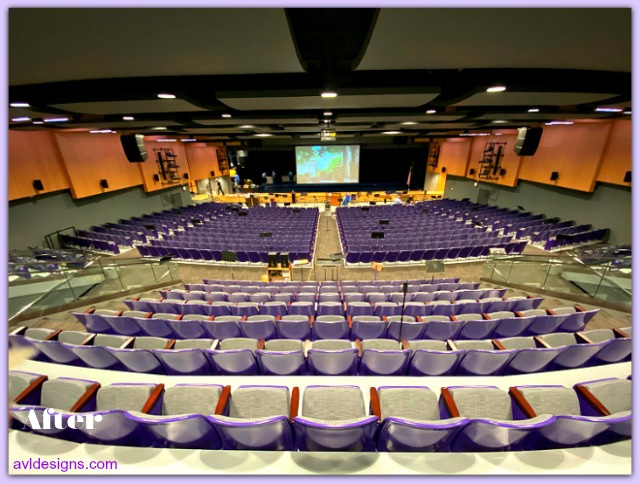
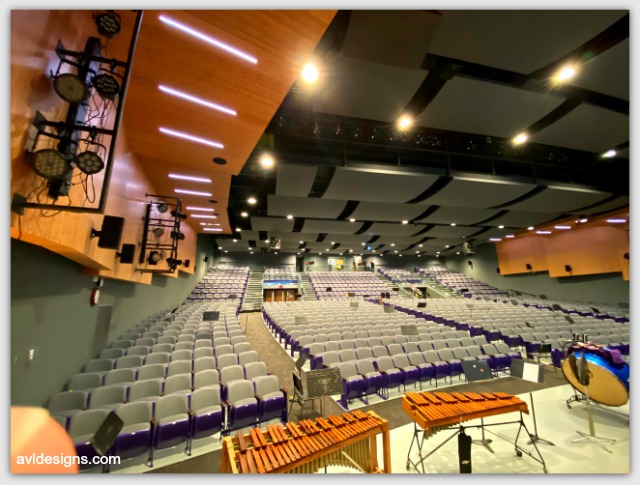
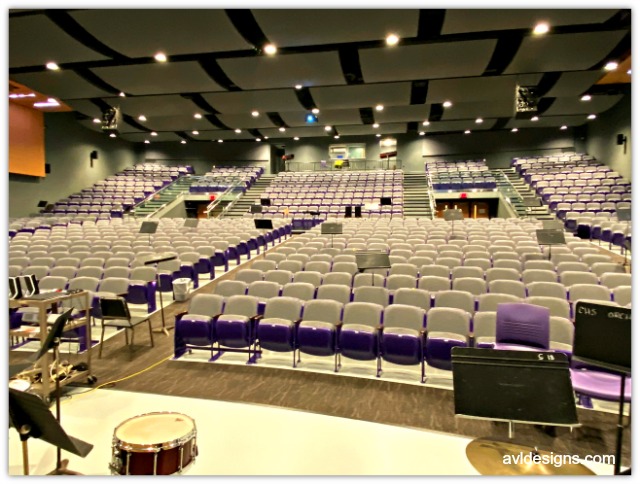
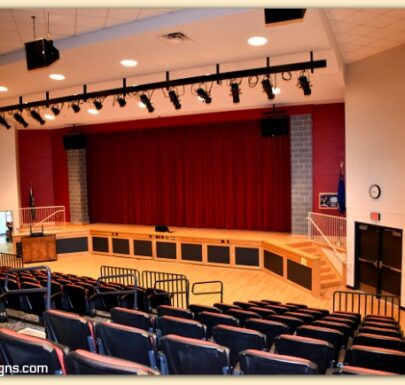
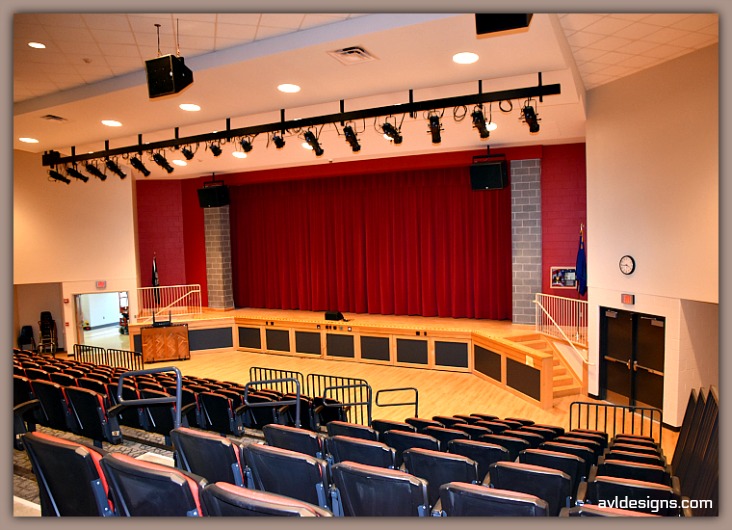
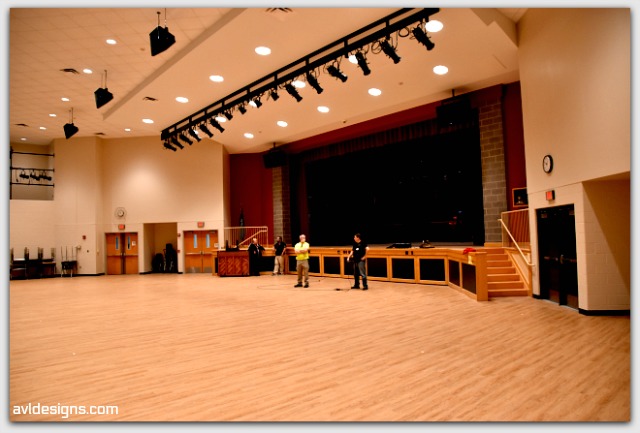
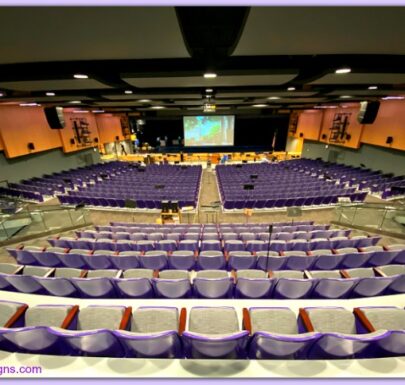
Main auditorium of Newfield High School where AVL Designs Inc. were contracted to design new stage rigging, lighting, audio, video and do acoustic room corrections.

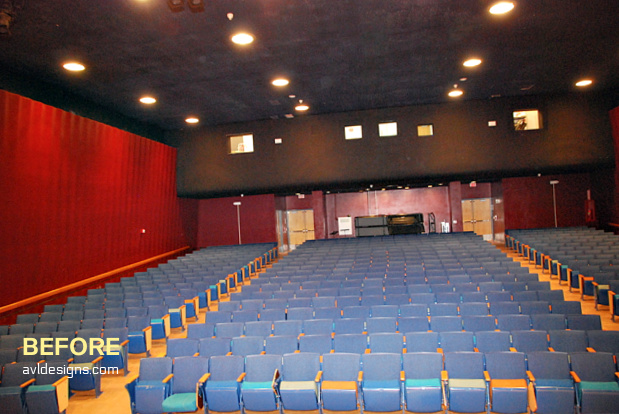
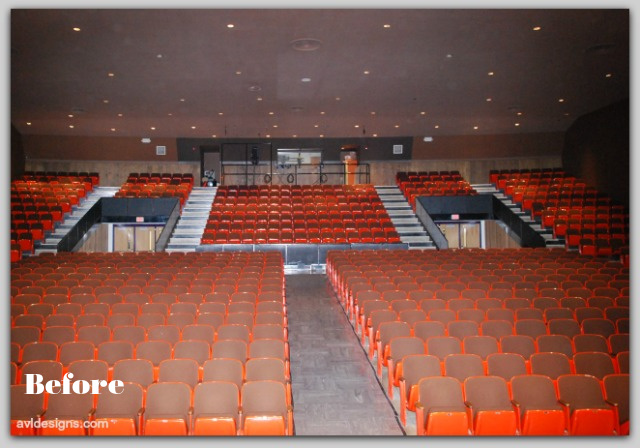
Newfield High School’s auditorium was an outdated facility housing a very active theater group. In fact, people at the highest levels of the school administration have contacts who work in theatrical productions in New York city. Those pros come in to operate shows at New Field High School.

 Newfield High School needed an update!

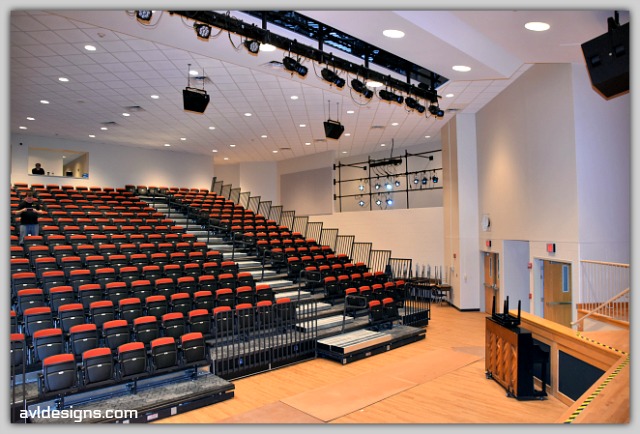
AVL Designs Inc. was contracted to design new stage rigging, lighting, audio, video, and make room acoustic corrections for the auditorium. The architect was tasked with raising the height of the fly space to make it more usable for productions, as well as adding a balcony and enlarging the entire seating area of the auditorium. 

Large video screen in the Newfield High School Auditorium - part of the renovation design completed by AVL Designs Inc.

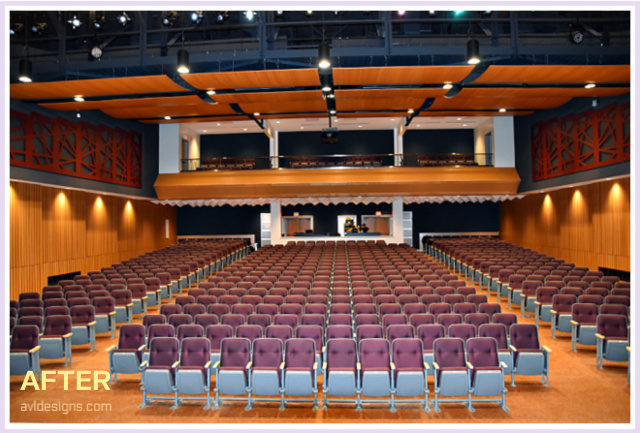
The resulting changes to the room are striking, not only visually but functionally as extensive system improvements have been made.

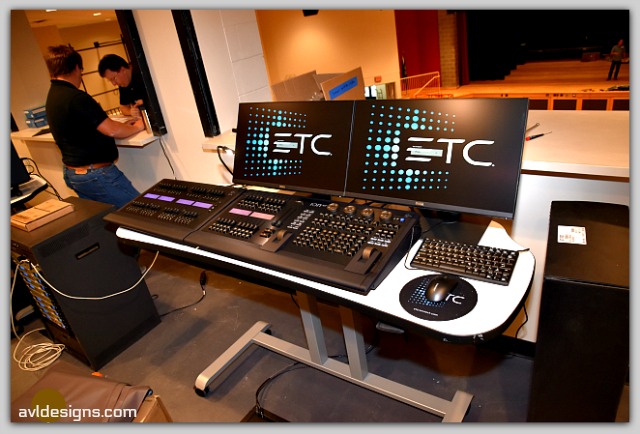
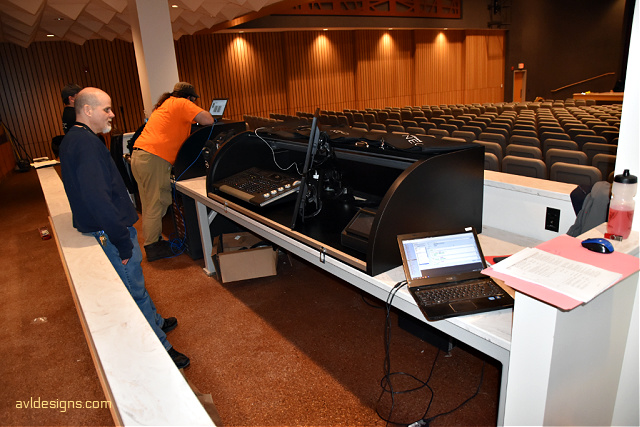
Control boards for the sound, lighting and video at Newfield High School auditorium

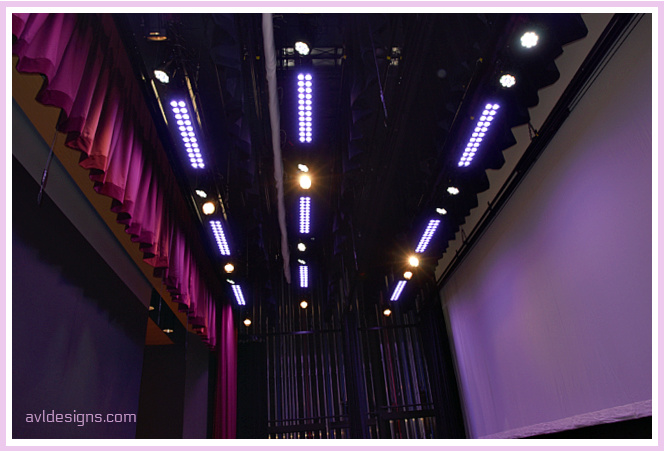
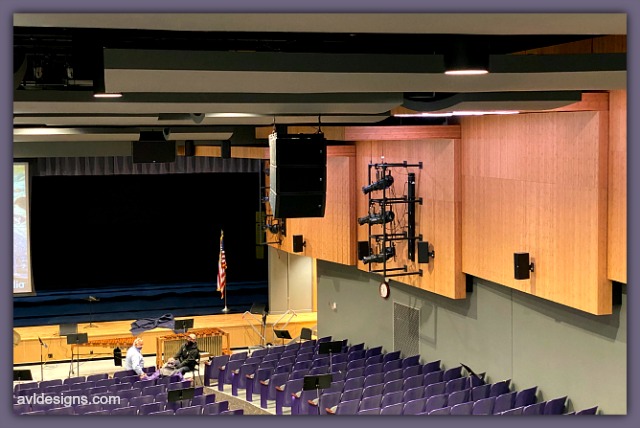
Lighting has been enhanced with LED lighting fixtures as well as additional moving heads. The new audio system is a dramatic improvement. It includes an Allen & Heath D live digital console, expanded wireless microphone inventory, a new sound system Mains, subwoofers, over and under balcony fills and stage monitoring are included.

Theatrical renovations were made at Newfield High School.

An electronic stage orchestra shell was added to enhance sound on stage as well as in the house using proscenium loudspeakers to expand the coverage of the electronic shell into the seating area. 

The stage fly space was raised in height and all new counterweight rigging was designed using brick house technology. Although a FOH catwalk is part of the project, it could not be properly located to provide good lighting positions to the pit area. A motorized  FOH batten was included  just below the  catwalks. This batten is populated with moving heads, allowing flexible for forestage lighting.

Large video screen in the Newfield High School Auditorium - part of the renovation design completed by AVL Designs Inc.

The new video system is a utilizes an HD laser projector with Crestron controls. Projection is made to a 298” diagonal screen. An HD PT Camera provides video feeds to green rooms and streaming.

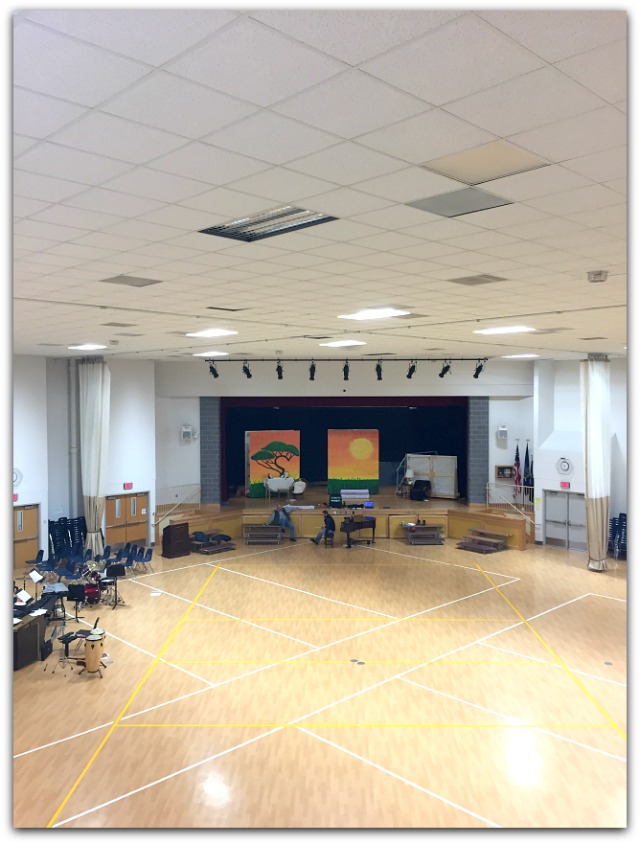
Note: Unfortunately, due to the COVID-19 problem, their first show was canceled. As a result, photos of the room were taken with the disarray of an abandoned building, being evident in all of the photos. The cast and crew were told to “leave the building and don’t come back” and they hastily left everything behind, just as it was during their show prep and rehearsals. We hope to get better photos of the room when all of this subsides.

/

Copyright AVL Designs Inc. 2020+
Read More

Video Conferencing

Video Conferencing – STAY OFF THE SEESAW

At a time where video conferencing is way up, awareness of the need for technical quality in those online meetings has also increased.

Given a choice, many people would rather not meet online. But when there is no choice, why not reduce frustration and make it a more enjoyable experience?

Today, I simply want to address how to make online meetings sound better.

Video conferencing tips to help your online meetings sound great!

This afternoon I was sitting through yet another online conference and listening to relatively horrible audio. 

The primary factor causing the audio to be so irritating was a lack of understanding on the part of participants.  They just didn’t get how the audio component in video conferencing software actually works. When you think about it, why should they?

Here is a brief explanation of how things work in the app-based “Video Conference World” that should help. 

“One at a time?”

Video conferencing software is set up for one person to talk at a time. It is not a party line situation, like it would be in a real conference room where anyone can talk at the same time and still hear others who are talking.  

These online systems are set up to feature just one person talking at a time. 

And, of course, that is a problem. When you are in a video conference room, the tell-signs of who is about to say something are just not there.

Get off the seesaw.

Video conferencing kind of works like a seesaw. Only one person can be at the top. The other person must be at the bottom.  One person talks, the others listen.

Going back to our video meeting scenario, something happens at the in-between as the next person speaks up. At that in-between moment, each person is reduced in volume for the system to transfer from one to the other.

Video conferencing from home has its challenges. Barking dogs, background noises, doorbell unexpectedly ringing... things happen! This little dog wants to get in on the show!

To add to it, even if only one person is talking, should an unplanned noise occur in the room – rustling papers, dogs barking, etc. – the software will think someone is talking and will take the volume from the true orator and try to give it to Fido. 

Background noise is certainly one of the reasons they added a mute button to the software in the first place.  When people leave their microphones un-muted, any little noise, whether it is their own breathing, the whir of an air conditioner, or a knock at the door, makes the system think that you are taking over. The featured person who was talking suddenly is reduced in volume while the system tries to decide if you are going to continue or if you are going to stop.  

If the noise interference ceases, the software raises the level back up so that the person who was really talking can be heard again.  How often have you been in an online meeting when sound interference occurred? That is when people in the meeting will chime in “Can’t hear. Will you say that again?” We have all been there, haven’t we?

Push to Talk

The solution to this audio problem is to use your mute button a lot.  Most conferencing software has a “push to talk” mute capability built in. In the better systems, if you mute your microphone with your mouse, the space bar of your computer then becomes a push to talk button.  

When you press the space bar, it will temporarily unmute you while you talk. As soon as you let the space bar up, it will mute your microphone again. So, for the sake of all of us out here, please use the bar and mute your microphones when you are not talking. 

Friendly note to the conference administrators: each time you start a new meeting, remind the participants to mute themselves and that they can “push to talk” when they want to speak. Your meetings will flow more smoothly.

 Why is there an Echo?

Why do we hear an echo? An echo is the result of someone talking, then the sound goes to the far end (delayed) and is played back through a speaker. The speaker output at that end gets picked up by the microphone on the other end and is repeated back and forth. It is audio ping-pong. So, how do we get it to stop?

Echo cancellation software is in the app and it makes a one-on-one situation work well, but if everyone has their mics open and speaker volumes turned up loud, there are just too many sound sources for the app to always fix.

When your mic is muted you will eliminate echoing because echoes do not occur when just one person is talking.  In other words, if every meeting participant remembers to mute their mic, using the bar when it is time to speak, echoes will be almost non-existent.  

But what if you cannot unmute? If muting is not possible then reduce the volume of the loudspeaker on your device or use headphones so that extraneous sound will not be produced and picked up by the speakers.

The bottom-line is that each video conferencing system, be it Zoom, WebEx, StarLeaf, Google Meet and the like, has varying degrees of audio quality but none of them can fix errors that are created by the users.

Only you can prevent bad conferencing!

/

Copyright AVL Designs Inc 2020+

 
Read More
Yamaha AFC

AVL Designs Inc. Featured on ProSoundWeb

NY-Based AVL Designs Inc. Deploys Yamaha AFC On Numerous Projects Over Several Years

Acoutical designers and engineers at Ciminelli Recital Hall  at Buffalo State University
Audio engineers working with performers in Ciminelli Recital Hall at Buffalo State.

Reprint from ProSoundWeb article April 23, 2020

Company principal/owner, Seth Waltz, reflects on the evolution and application of acoustic room conditioning technology on a range of projects.

Seth Waltz, a principal and owner of AVL Designs, a Penfield, NY-based firm specializing in A/V system design for performing arts, theater, worship, and several other applications, has worked closely with every version of Yamaha Active Field Control (AFC) acoustic room conditioning technology for more than 15 years.

He’s seen numerous changes in each of these applications, with traditionally high-end technologies being applied to smaller environments.

“Auditoriums with a few speakers and a microphone were once considered high-end A/V rooms,” he notes. “Now these same venues are being outfitted with million-dollar technology. The digital era has created a whole new mindset where a performing arts center, even at the school level, is looking for a higher level of everything: acoustics, sound quality, video quality and streaming. It’s all tied together.”

His first experience with AFC and its ability to configure and condition a space came in 2004 when he and his associate Geoff Nichols were invited by Yamaha to a system demo.

“We walked into what looked like a large office space with drop ceilings,” he explains. “A pianist backed by a string quartet performed for us with AFC applied to the room. If you closed your eyes, you would swear you were in a 500-seat theater. It sounded extremely natural. We got to play around with the system and we soon realized this is the future of room acoustics as far as having the ability to modify a facility as needed.”

AVL Designs Inc. first implemented the AFC system on a design project in 2005, turning a “plain Jane auditorium” into what sounded like a completely different sonic environment and drawing rave reviews from the project owner as well as the musicians who performed there.

Waltz points out that AFC technology has improved greatly over time, especially in terms of its processing and responsiveness. He’s also suggested new system developments such as an “orchestra shell”, allowing him to configure the stage as opposed to just the seating areas.

“With most of our jobs now, we’re simulating the performance of orchestra shells as well as covering the seating area and early reflections,” he says. “Now that the processors have become so powerful there’s no limit to what type of space AFC can fit. We don’t have to even think twice about metallic edging or other factors. It sounds so smooth that nobody seems to know it’s there.”

Waltz noted the only challenge to a successful AFC installation is a room with a high degree of mechanical noise, more common on projects that are updates to an existing space.

“You can’t have background noise or anything that creates echoes,” he said. “You won’t hear the nuances of the reverberation. Plus, the microphones pick up the noise and cycle it back through the system.”

Waltz looks forward to future versions of AFC incorporating new features and capabilities suited to a diverse range of applications. These include using the system as an effects device or controlling it via a mobile device. AFC4 can be controlled using the Yamaha ProVisionaire Control app on a PC or Windows tablet as well as ProVisionaire touch for iPad. These two software tools allow customers to create customer user interfaces to control various Yamaha equipment to simplify system operation for non-audio professionals.

Whatever changes are ahead for Active Field Control, Waltz is already confident in the technology’s ability to handle any project challenge. “Often at the tail end of a bid, someone changes the seating and suddenly the space is absorbing a sound we didn’t expect,” he concludes. “Or, something may happen during construction where you end up with different frequencies or there’s some other problem you wish you could do something about. AFC fills in the holes and helps compensate for these factors.

I tell clients, ‘I can give you one room that does one thing really well, or I can give you a room that does several different things well.’ Accomplishing this with physical construction alone is limiting, but AFC is extremely flexible and able to make one room do the job of many. It’s such a great tool.”

/
Yamaha Pro Audio

Read More

Stage Safety Basics For You To Put Into Action Today

Let’s have a little talk about stage safety, specifically in relation to use of any kind of stage rigging, lighting or other equipment in a theater.

Note * This is not an exhaustive study but simply a “basics list.” We find most schools don’t even have the basic level of safety procedures in place.

Stage safety basics for all theaters including high school auditoriums. #tips

When no one is monitoring the stage systems, accidents could easily happen and most of them are avoidable. As we visit schools to review their systems, we often discover unsafe conditions which have not been addressed and that no documentation has been created to let anyone using the stage know that a dangerous situation exists. That is never a good idea.

Start With Stage Changeovers

There should be procedures in place, with sign-offs, indicating that people have checked the status of their contribution to the stage before a show starts. People should not be randomly building sets, attaching lights, adding microphone cables, lighting cables and the like without certifying that they have first done a proper, coordinated safety check. That check needs to indicate nothing is snagging, everything is attached with proper load-rated hardware and that everything is in balance. This must be a written document, accessible to all on stage. It is imperative that anyone using the stage review this safety checklist first, prior to use.

Failing to maintain this documentation is like loaning a car to someone without telling them the brakes don’t really work so don’t stop suddenly. “Oh, and the gas gauge is broken and I’m pretty sure that the headlights don’t work.”

Stage Checklist

There should also be a form that gets logged and signed off at the end of a performance or rehearsal that indicates the condition of all stage systems.

A sample basic checklist:

  1. All rope locks are engaged.
  2. All of the battens are properly counterbalanced.
  3. All battens are free from any tangled wiring or items that could impact adjacent battens.
  4. All lighting circuits are plugged and checked.
  5. All fixtures that are assigned to the show plot still work.
  6. All fixtures have safety cables.
  7. No defective wiring was found.
  8. There are no stage weights or anything in the locking rail that could cause problems.
  9. There are no trip hazards on stage
  10. Etc…… There are a multitude of things that should be on a sign off sheet depending on the show, venue, and special conditions. 

Where a checklist alone does not suffice to indicate a safety hazard, you may also need to rope off, lock, or mark safety hazards that can’t be corrected immediately.

Safety Procedural Manual

There should be a Safety Procedural Manual for every stage. Some really good ones are available online for review. Maintaining stage safety protocols is not just a matter of making a checklist of two or three things. There are pages of checklists items that should be followed every time you change anything for show, or plan and build a show.

Define Your Team

You should also make a list of authorized personnel. Not just anybody should be able to go up on stage and perform work or run rigging systems.

If you can’t do the math to figure out the load on a batten, then you shouldn’t be allowed to touch it.

If you can’t walk up to an arbor and by a quick visual and manual inspection of the operating lines determine whether the set is in-balance or out of balance, then you shouldn’t be opening a rope lock at all.

These procedures should be in the training manual. People who have been trained should be certified by the school.  Letting just anybody do anything on a stage is a recipe for trouble.


Let’s look at  an example of what can happen.

You walk in and need a curtain that is flown out  to be  moved down towards the stage. The person who used the stage last, for some bizarre reason removed a bunch of counterweights from the curtain set arbor after it was up. That arbor is light and the curtain is heavy. You don’t know enough to recognize what has happened, so you go ahead and release the rope lock causing the curtain to come crashing down towards the stage.

There are a couple of possible outcomes this un-safe scenario may produce. In the case of a stage curtain, when some of the weight of the curtain  lands on the stage, it slows down. If you’re  lucky it stops before the batten it’s attached to  hits anybody in the head.  But, sadly, things could go the another way and it will injure somebody.

Lack of safety procedures and not insisting upon sign-offs puts people in physical jeopardy. Sign-offs basically say “Hey, show’s over. I checked all of the sets, everything’s in balance [i.e. safe] so that when you release the rope lock, nothing will start moving much by itself.” Insisting on official sign-offs makes it safer for non-skilled people to use the stage.

It is still not a good idea to have non-skilled people working the stage but, at least, it is safer with a checklist.

What if there is an electric cable that is frayed, a light was flickering, or the sound system was making a humming noise that it never made before?  Log It. There must be a reporting procedure so that when anything like that is found, it will be logged and communicated in writing to someone who can check into maintenance.

Note: Procedural manuals are also needed but that is another topic. How sets are  built, use of paints, special effects, power tools, fall protection, use of ladders, electrical safety, issues with strobes, lasers, etc…. will need to be in your procedural  manual.

Here is a well-thought-out manual by Southern Oregon University, available for you to read (not plagiarize): Sample Stage Safety Manual

Stage Rigging Inspections

You must have inspections on a regular basis by qualified professionals. These inspections will identify where there are issues and other problems that a general checklist cannot address. ESTA and ANSI standards require inspections of counterweight manual and motorized rigging that need to be performed annually and or biannually. On motorized rigging and stage lifts, the inspectors have to be versed in the specific system, general knowledge does not suffice.

If these inspections are not being done, you’ve now left your people “using a car with bad brakes.”

/


Copyright AVLDesignsInc 2020

Read More
music studio

University of Rochester Recording Studio at Gavett Hall


Popularity has its challenges. The University of Rochester, for instance, offers an audio and music engineering program which already had a couple of recording facilities on campus. With a vision for the future of the sound industry, and under the leadership of Grammy Award winning audio engineer Stephen Roessner, this rapidly growing major of study at the university needed new space.  

New recording studio in U of R’s Gavett Hall.

To accommodate the growth and development of the program, the U of R planned to install a new recording studio with larger live rooms, multiple mix rooms and a large control room for instructional purposes.

The building that was selected was Gavett Hall. The team of experts hired to carry out the task were AVL Designs Inc., SWBR architects and Bergmann Engineers working in conjunction with the U of R decision makers.

The greatest challenge in utilizing Gavett Hall for the studio is that the location put the live room directly above a computer lab in an existing building. Live rooms can have sound pressure in the 104dB + range when used for live bands. It was critical that these sessions could occur without the computer lab hearing it.

Source University of Rochester photo J. Adam Fenster

AVL Designs Inc. was contracted for acoustical design as well as creating an infrastructure for equipment to be added at a later date. Working with SWBR’s architect and their structural engineer, we had to find a way to assess what options we would have for controlling transfer between floors. A floating slab system was designed but it was being installed upon a substrate that was not the standard for this type of system.

Utilizing custom software, an estimate of field STC (Sound Transmission Class) for this assembly was derived. Walls were designed to isolate the live room from the main control room as well as from hallways and adjacent mix suites. High STC doors from industrial acoustics corporation were selected for all of these spaces as well. Final field tests confirmed that the floor to floor isolation was within two decibels of design standards, which with a custom assembly is exceptional.

Mechanical noise in the spaces needed to meet very low levels, in the RC 20 range. We also had to make sure duct runs and conduit did not create sound breaks in the wall construction which was designed to high STC levels.  This required specialized mechanical design and electrical.  Our AV design team worked with mechanical and electrical engineers from Bergmann Associates to achieve the desired results.

The university has since outfitted the spaces with their own equipment and have installed wiring to the infrastructure that was designed in the project and the project went online very recently.

Read Bergmann PC’s article here

Read University of Rochester’s article “The Art and Science of Sound” here

/

Copyright AVL Designs Inc. 2020+
Read More